Tuesday, September 28, 2010
clutch mini/brag book
Thursday, September 23, 2010
Island Girl
I grew up on the Southern most point in the continental United States. Do you know my hometown, now? If you guessed Key West, Florida you are right! When I saw this faux leather alligator skin paper (paper Studio), I just had to make a tropical purse mini.
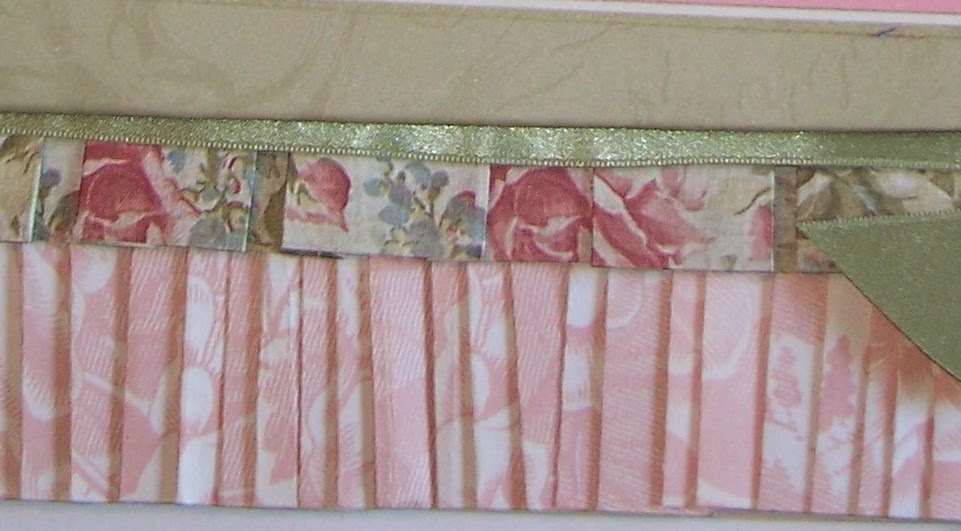
The handle is of course bamboo and the charm an oyster with a pearl and for the closure a sunshine shaped rhinestone! Inside lining is also PS and looks like wet sand. So cute. There are 10 pages in total, so 20 4x6 photos. This mini goes maxi in real estate. Pages are ocean blue with double mats. One being kraft paper edged with Martha Stewart beach shells edge punch. Then the patterned card stock mats.
Thanks for looking. Leave me a comment and let me know what ya think! Have a wonderful day! Anyone find my lost shaker of salt? LOL
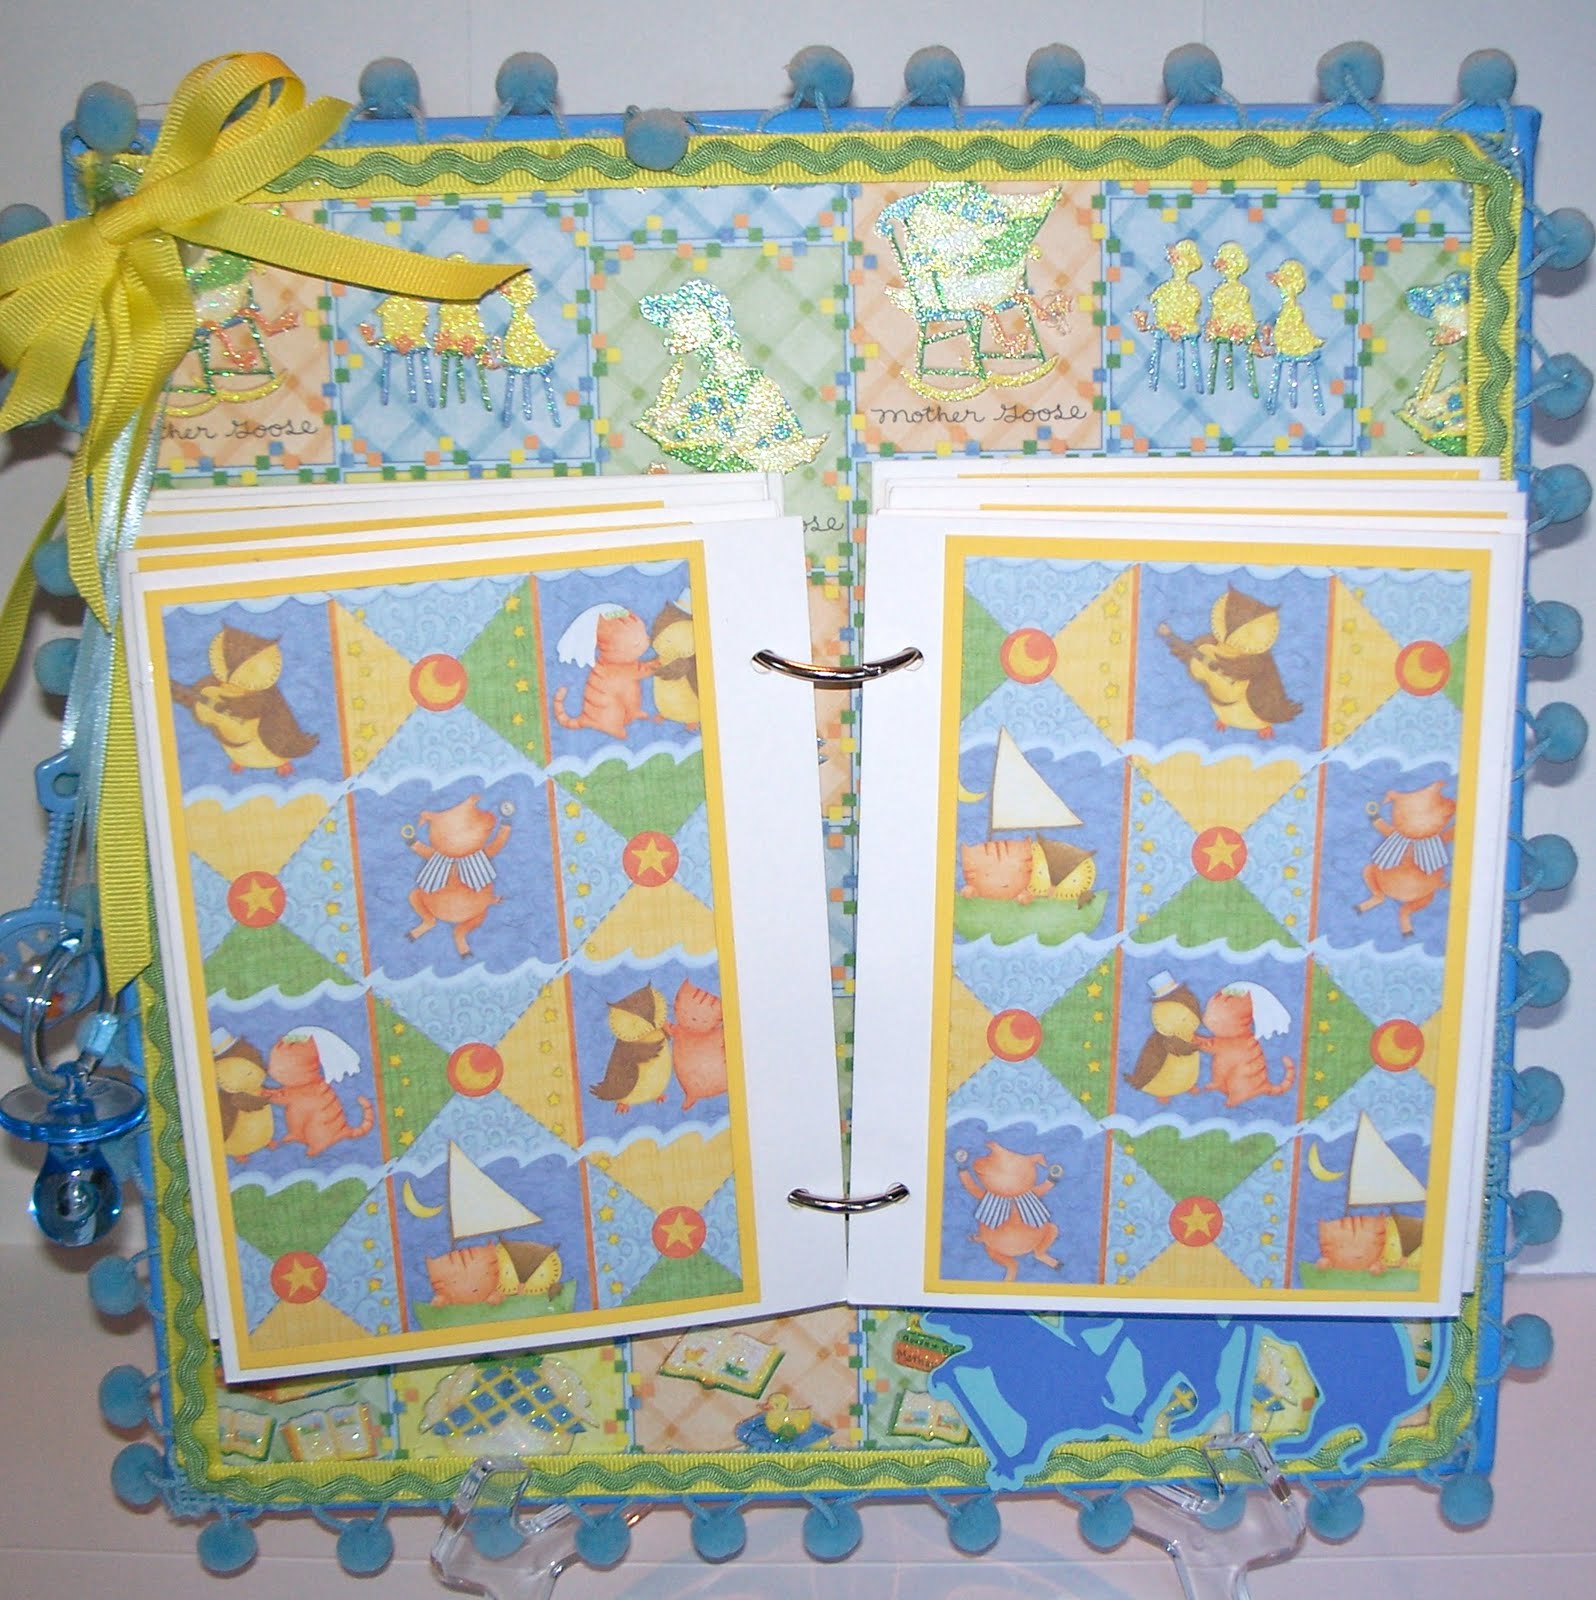
Wednesday, September 22, 2010
Casino Royale
The inside of the purse is further carrying out the red, black and white theme. Several different patterns make up the pages. Some have ribbon closures, some with contrasting stitching. There are 20 pages for 4x6 pictures. There are several tags. These are placed into a pocket that is double matted with a charm of an Ace of Hearts . I used Glossy Accents to "shiny' up the printed playing cards on the mat. Tag pulls are 3-dimensional cherries, that are so very cute. Journaling blocks on the backside of all the tags.
Hope you like this mini. I am really quite happy with it. Leave me a comment and let me know your Vegas story. Thanks for looking!
Monday, September 20, 2010
old fashioned layout
even a jacquard print. You would think that this would be to busy or not work. But it is wonderful together. My husband was very moved by this when he saw it and said his mother would have been pleased. I thought about some stickles and glimmer mist, but decided against it and leave it clean. I think I made the right choice. Directions available upon request.
On the first page, there is a lot of pleating, two kinds, just a plain ruffle type around perimeter and then an inverted box pleat closer to center( see close up). Anna Griffin papers easy to pleat as they are not card stock. Mitered corners to establish stripe around the frame and then the printed oval around portrait photo. Satin ribbon ties at corners and as a layer after the pleats. The banner below the picture will have her name and of course the dates.
This second page is a pocket type page with the two photos sort of "tucked in". Quilting simulated by grosgrain ribbon and buttons. I used Fiskars "Victorian" blade on my trimmer to make the ruffle around left photo and just cut out some flowers as accent on right side photo.
Saturday, September 18, 2010
Family reunions are just fab
I wanted to personally thank you all for visiting. Don't know what took you so long!!! Love how the WWW helps keep us up to date on each other and how easy it is to be involved in each other's life. From Florida, Georgia, North Carolina and Louisiana it is just fabulous that we all got together last night. Early birthday present for me. So sweet of you all to be so kind and surprise me. Thank you all from the bottom of my heart. Each and every single one of you are just so special. We will have to have a visit again real soon!!!!
Wednesday, September 15, 2010
Home Decor Custom Frame/Mini all in one
This is my very first finished project since my new studio has been completed. I must admit it felt so good to be in there today, it looked so bright and happy. I actually knew where everything was. But best of all, I could put my crafty little hands on any and everything immediately. That was just awesome. This project was totally inspired by Kathy Orta over at Paper Phenomenon from June 2010. Please see link below. Her project has a wedding theme, so I changed it up a bit for a girlfriend having a baby boy. Do check out her wedding frame, just beautiful. I used the DCVW Nursery Rhyme CS stack and Bazzill solids as well as plain white CS. The base of this project is a 12x12 artist's canvas. I use inexpensive acrylics to coordinate my paint color with my card stock and paint away. Then just adhere your base page, drill holes, set eyelets and place the 1. 5 inch book rings. There are ten pages in total, room for seventeen 4x6 photos and ten tags, cut from Tags Bags, Boxes and More Cricut cartridge for journaling smaller photos and some cute coordinating stamped images. The Three Blind Mice in the lower right hand corner were cut at 2 1/2 inches with base shadow from the Nursery Rhyme Cricut cartridge. I used Glossy Accents to give the mice a "blank" look in their eyes. Bow at the top has a miniature pacifier and rattel hanging. More detail upon request. Please leave me a comment and let me know what you think. Thanks for looking!
http://paperphenomenon.blogspot.com/2010/06/digital-frame-gone-scrappy.html
Tuesday, September 14, 2010
My new work station
I am another step closer to the completion of my new and improved studio. This back wall is pretty much the cutting station. yep, counted have room for 74 more carts. Not that will happen an time soon, but nice to know I can! :-) All of my carts are displayed in those cute cricut green and hot pink CD/DVD cases. I alphabetized them, thinking that would make it easier to find that one that I would be looking for. My laser printer, laptop, Gypsy and Expression are also there. These two 8 ft. banquet tables were able to be raised to counter top height, much better for stand up crafting. I tend to stand when cutting both with my guillotine cutter and even on my bug. I know with a Gypsy, I really don't need immediate access to my cartridges, but I like looking at them and frequently go through by books for inspiration. I also have a girlfriend that comes over to craft and she is a non Gypsy user. As soon as I get more familiar with my Gypsy, will work on that conversion. LOL. Under these tables are supplies that in nice plastic see thru containers. I am having table skirts made to hide supplies. I am getting real excited about how the studio is totally coming together. Let me know what you think. I love hearing from you!
Friday, September 10, 2010
Can you come over to play?
It is amazing how long it takes to get your craft studio put back together. I guess a lot of the time was spent trying to decide what to purge. I have quite a few things that I am going to try and sell on Craig's List and some that I am going to donate to my local middle school. I think one of them even has an after school scrapbooking club. Well I now know that sorting paper is definitely not one of my favorite things to do. LOL. Time consuming and boring. But, when you are searching for just that right piece of paper or card stock, it is a good idea to have an inkling where it might be. So I now have my paper sorted by color, pattern and theme. Some is even sorted by type, such as mulberry or vellum. I used the Sterlite 3 drawer 12x12 containers. I hope they will hold up over time. Paper can get very heavy. I tend to over buy my papers. I live more than an hour away from any craft stores, so I am always worried I will run out of something that I need and it is a "road trip" away. I found that I will also use my scraps if I put them in a drawer by color, as well. I also have drawers for some items that I pick up over time for certain projects. It is nice to be able to open a drawer and see every embellishment or whatever for that certain thing you are working on. On top of my drawers I have those snap lid 12x12 containers. In those I have things like primas, chipboard pieces or buttons. Precious little things. It is nice to be able to take the entire case over to your work station and rummage thru it to find the perfect embellie! I also have a double ScrapRack for my embellishment that is sorted by theme and season. I really don't use it much any more, I tend to make my own "accents" now that I have my bugs and embossers. So, there you have it. I am so close to being finished with putting back together my studio that I am getting giddy. I do not have a good system for storage for my cuttle bug folders as of yet, or my stamps. I have unmounted them all, but have not decided upon the storage. I am open to any and all suggestions. Let me know what you think.
Tuesday, September 7, 2010
Punches, punches and more punches
I have to admit, I am an addict. I just love my punches. My addiction began years ago, but certainly hasn't improved since Miss Martha launched her line of the amazing punch around the page punches and more. OMG, don't even get me started on those deep set punches. But, I have to confess that my problem began more than a decade ago. I have punches from the 90's. Can you believe it?? For the storage of those and proper display to be able to see and access, I chose the Crop in Style Punch Pal. It is a great storage solution, but made for the back of a door. My room unfortunately has a custom cut door and is very lacking in wall space. The beat space for my punches sto "hang'was "inside a window". The roof line is quite the issue and of course I am dealing with dormers and gables. My DH's solution was to hang from custom drapery rods. We spray painted the rods to match my hot pink wall ( looks so nice on cricut green wall) and then made sure we attached the rods to the studs. This is extremely important step as punches have an unbelievable amount of weight. Especially once you get 50 hanging off one rod. Well, here they are, hope you like it. It isn't the best, but the certainly is the best solution to our limited wall space and such. Please leave me a comment and let me know what you think!!! Thanks for looking. Getting super excited as my room is just a few hours away from completion!!! Wait till you see this window with the valance and not just the honeycomb shade!!!!
Add caption |
Saturday, September 4, 2010
Pretty in Pink!
Don't my Martha Stewart punches look so pretty against that hot pink wall. I just love the way they look. I have punch pals for the old type that have no handles, but these just do so well on those cafe rods. I know a lot of the girls use Ikea rods, there is not one close to me. So, I am using really inexpensive Walmart cafe rods. I did add an extra support in the center as the rod is hollow and punches can get heavy. This is the right side of the far wall. The HVAC situation is still in the process of being assessed. So, for now, unit still in wall, unfortunately it is not centered. Over the unit is those little compartment utility cabinets. I spray painted them to match. Love that cricut green on that wall. Next to that are more rods, these are the ones that have handles or those EK Success punches that will fit on the rods. Look, lots more space for more punches! ;)
Subscribe to:
Posts (Atom)